
September 21, 2026 · 6 min read
How to digitize handwritten family recipes
A handwritten recipe card exists in exactly one copy. How to photograph, transcribe and back up family recipes so both the handwriting and the recipe survive.
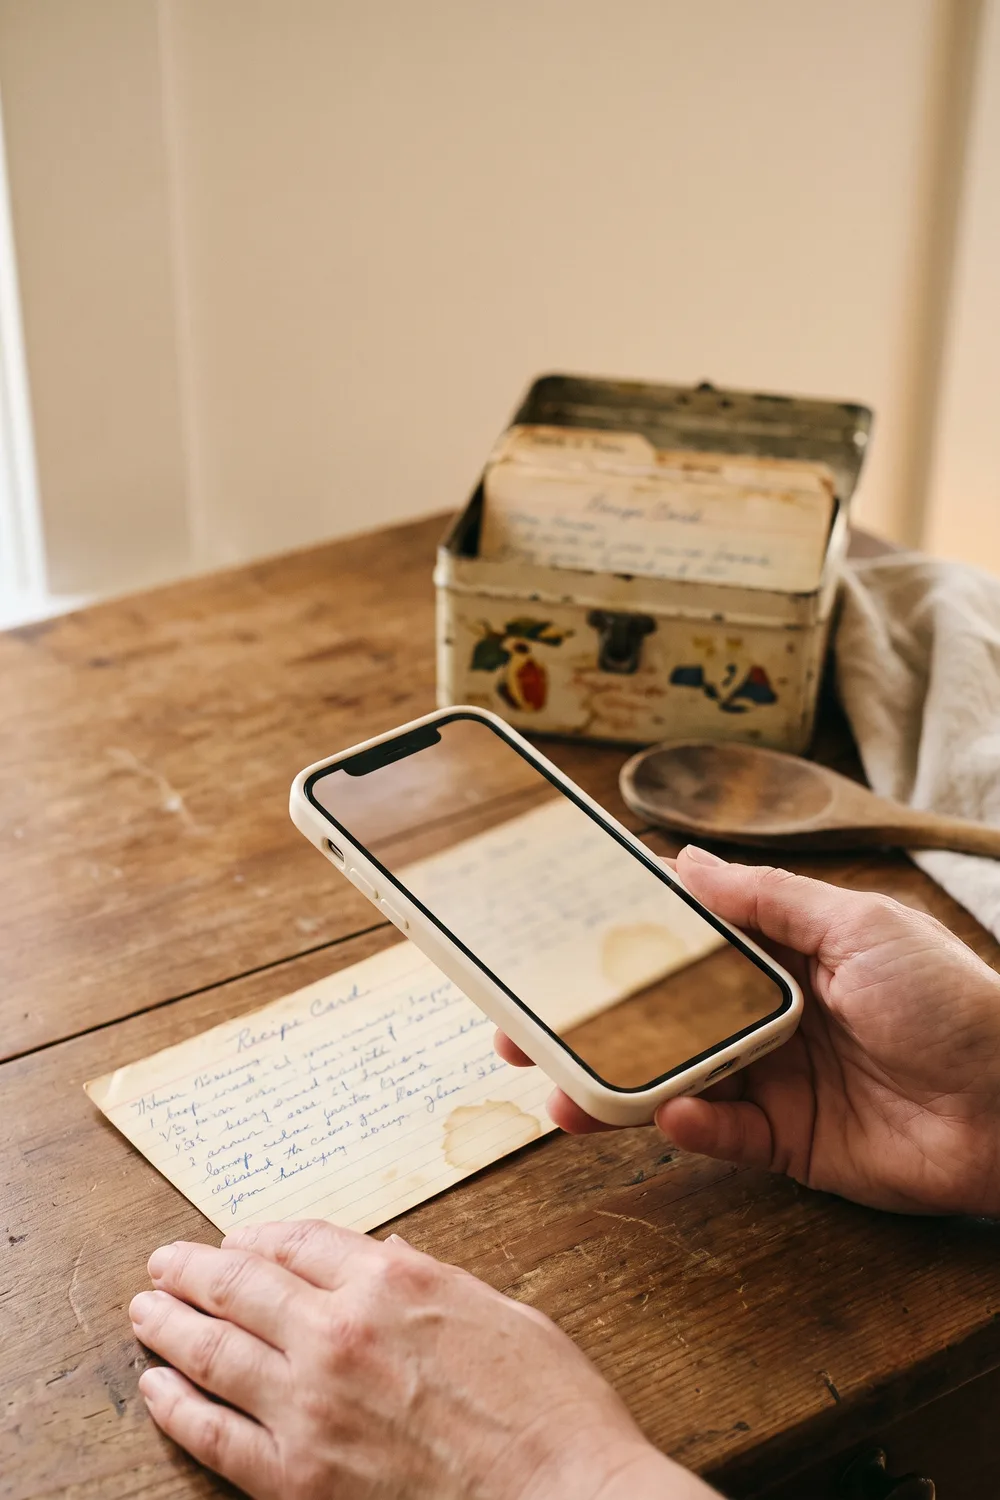

To digitize a handwritten recipe, do three things in this order: photograph the card so the handwriting itself is preserved, transcribe it into typed text so it can be searched and cooked from, and store both in at least two places. The photo keeps the memory. The transcription keeps the recipe. You need both, because a photo alone cannot be searched and a transcription alone loses the hand that wrote it.
The photographing takes about an hour for a full recipe box. It is the only urgent part, and everything after it can be done slowly.
Why is this more urgent than it feels?
Every other recipe you own exists somewhere else as well. The cookbook is still in print, the website is still online, the video has a million views. A card in your grandmother's handwriting exists in one copy, on paper that has already lived through forty years of steam and splashes, and it is stored in the most dangerous room in the house for paper.
Ink fades. Pencil smudges. Grease turns cardstock translucent and then brittle. And there is a second kind of loss that is easy to miss: the person who can explain the card. "A teacup of sugar" and "bake until done" only mean something while someone who watched it being made is still around to ask.
So if you do nothing else this month, take the photos.
How do you photograph a recipe card properly?
You do not need a scanner. A phone is enough if you control three things: light, angle and coverage.
Use daylight. Work next to a window during the day, out of direct sun, with the flash turned off. Flash bounces off old glossy cardstock and burns a white patch exactly where the writing is.
Shoot flat and straight. Lay the card on a plain, dark surface and hold the phone directly above it, parallel to the table. Shooting at an angle stretches the handwriting and makes it harder to read later, for you and for any software.
Photograph one card per photo, and fill the frame. Do not photograph the whole box spread across a table. Each card should take up most of the image so the writing stays sharp when you zoom in.
Photograph the back, every time. Even when it looks blank. The back is where the notes live: "double for Christmas", "use less salt", a date, a name. Those notes are often the most valuable thing on the card.
Leave the stains alone. Do not clean the card, and do not retouch the image. The butter mark is part of the record.
If you do own a flatbed scanner, 300 dpi is enough for a standard card and 600 dpi helps with small or faded writing. It is slower than a phone but gives you a perfectly flat, evenly lit image.
How do you turn the photo into a recipe you can cook from?
A photo is an archive, not a recipe. You cannot search it for "buttermilk", scale it for eight people, or read it at arm's length with flour on your hands. For that you need typed text, and there are three ways to get it.
1. Type it yourself. Open the photo on one side and a note on the other, and copy it out. This is the slow way, and it is also the most accurate, because you will recognize your own family's handwriting better than any software will. Plan on five to ten minutes per card.
2. Use the text recognition built into your phone. Both iPhone and Android can select text inside a photo. It works well on printed recipes and neat handwriting, and poorly on old cursive, faded pencil and abbreviations. Expect to correct a lot, and expect it to return one block of text with no separation between ingredients and steps.
3. Use an app made for recipes. Plate can scan a photographed recipe, whether printed or handwritten, and turn it into a structured recipe with a separate ingredient list, quantities and numbered steps, along with nutrition estimates. Paper recipe scanning is part of Plate Pro. As with any handwriting recognition, read the result against the original card before you trust it, especially the amounts.
Whatever method you use, keep the original photo attached to the typed version. The typed recipe is what you cook from. The photo is the proof of what it really said.
What do you do with the parts you cannot read or understand?
Old recipes were written for someone who already knew how to cook them, so they skip things. Expect three kinds of gaps.
Vague amounts. "A teacup", "a wineglass", "butter the size of an egg". Write the phrase down exactly as it appears, then add your best modern equivalent beside it in brackets once you have tested it. Never replace the original wording.
Old words. "Oleo" is margarine. "Sweet milk" is ordinary fresh milk, as opposed to buttermilk. A "moderate oven" is about 350 to 375 degrees Fahrenheit, or 180 to 190 Celsius, and a "hot oven" is around 425 Fahrenheit, or 220 Celsius.
Missing steps. No pan size, no baking time, no mention of when the eggs go in. This is where living relatives matter. Send them the photo and ask. Do it soon, and write down what they say, word for word, in the recipe's notes.
Then cook it once, and write down what you learned. The first test cook is the moment the recipe goes from an heirloom to something your own children could follow.
How do you make sure it is never lost again?
One copy is how the recipe became fragile in the first place, so do not recreate that problem digitally.
Keep the files in two separate places, for example your phone's cloud photo library and a shared family folder. Share the collection with relatives, which is both a backup and the point of the whole exercise. And consider printing the finished set as a small book, since a printed copy in three households is a very durable backup.
Keep the original cards too, but move them out of the kitchen. Acid-free sleeves or an archival box, somewhere cool, dry and dark, will do more for them than the drawer beside the oven ever did.
Common questions
What is the best way to digitize handwritten recipes?
Photograph each card in daylight with no flash, front and back, one card per photo. Then transcribe it into typed text, by hand or with a recipe app that reads handwriting, and keep the photo attached to the typed version. Store the files in at least two places and share them with family.
Can an app read handwritten recipe cards?
Yes, with limits. General phone text recognition can read neat handwriting but struggles with old cursive and returns unstructured text. Plate for iPhone, with Plate Pro, scans printed and handwritten recipes and organizes them into ingredients, quantities and steps. Any handwriting recognition should be checked against the original card, particularly the quantities.
Should I scan or photograph old recipe cards?
A phone photo in good daylight is enough for almost everyone and is much faster. A flatbed scanner at 300 to 600 dpi gives a flatter, more even image and is worth it for very faded, fragile or valuable cards. The best method is the one you will finish, so start with the phone.
Should I throw away the original cards after digitizing them?
No. Keep them. The digital copy protects the recipe, but the card itself is the heirloom. Store the originals in acid-free sleeves or an archival box away from the heat and humidity of the kitchen.
Your next recipe starts with a photo.
Turn any meal into a beautiful visual recipe. Be among the first to cook with Plate.
From the kitchen
All stories
September 21, 2026 · 6 min read
How to save recipes from TikTok, Instagram and YouTube
September 21, 2026 · 6 min read
How to calculate calories and macros in a homemade recipe
September 12, 2026 · 5 min read
How to organize every recipe you have ever saved